Why Shopify Has No Native PO System
Shopify tracks inventory quantities and locations. It does not track the upstream supply chain — who you order from, what you ordered, when it was sent, what arrived, and what's still outstanding. These are separate systems, and Shopify has never built them natively.
Shopify built-in inventory tool attempted to fill this gap as a free companion app, but it was retired in February 2026. Its replacement — a basic "Inventory" section in the Shopify admin — covers stock-level views but not purchase orders, supplier management, or receiving workflows.
The result is that most Shopify merchants manage their procurement in one of three ways, each with significant cost:
- Spreadsheets — works until you have more than 100 SKUs or multiple suppliers, then breaks due to version control errors, manual update delays, and no connection to live Shopify inventory
- Email threads — POs created in Word or Google Docs, emailed to suppliers, with no tracking of what's outstanding
- Inventory management apps — the right answer, but often overcomplicated or overpriced for smaller brands
| Feature | No System (Manual) | Shopify Native | EZStock |
|---|---|---|---|
| PO creation | Paper / email | ✗ Not available | ✓ Built-in PO builder |
| PO status tracking | ✗ | ✗ | ✓ DRAFT → SENT → RECEIVED lifecycle |
| PDF export | ✗ | ✗ | ✓ One-click PDF |
| Email to supplier | Manual | ✗ | ✓ Send directly from app |
| Inventory auto-update on receipt | ✗ | ✗ | ✓ Growth plan+ |
| Reorder point triggers | ✗ | ✗ | ✓ Low-stock alerts |
| PO numbering | Manual | ✗ | ✓ Auto-incrementing per shop |
| Multi-supplier management | Spreadsheet | ✗ | ✓ Supplier CRUD |
| Cost tracking | ✗ | ✗ | ✓ Per-item cost on PO |
| Monthly PO limit | Unlimited | N/A | 5 free / unlimited paid |
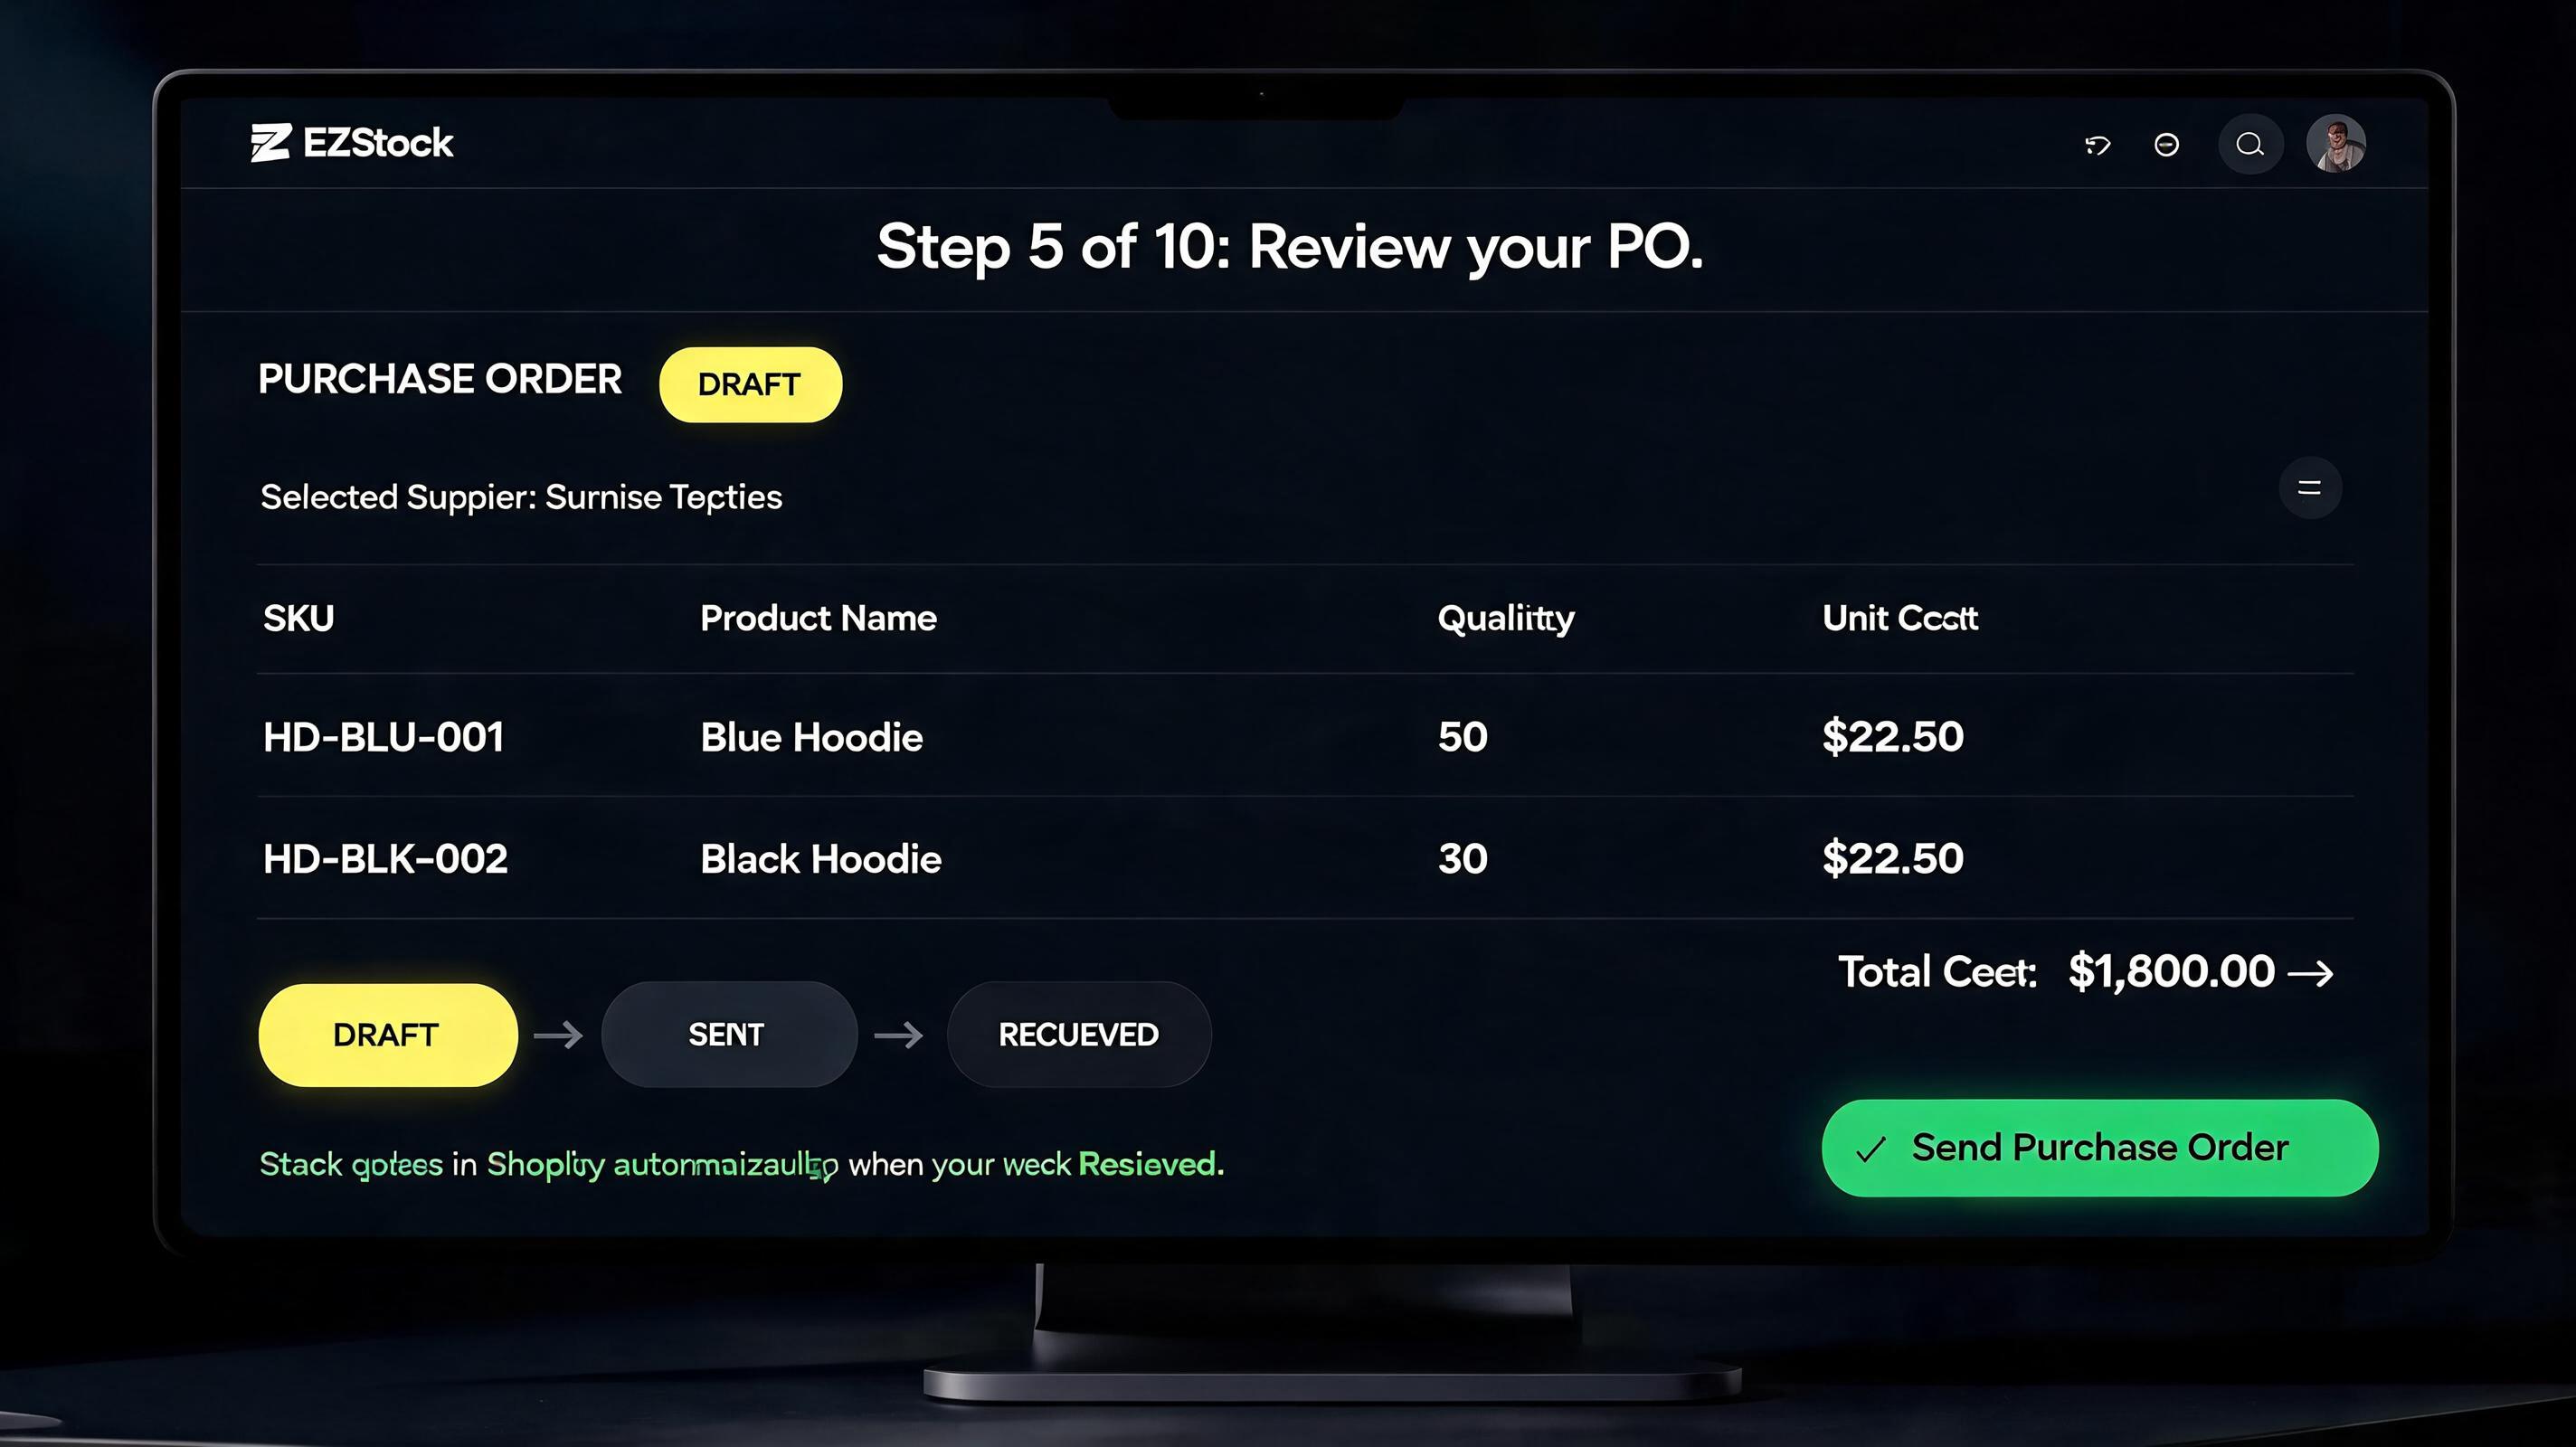
The PO Workflow: DRAFT → SENT → RECEIVED
A purchase order moves through three states. Understanding these states before setting up your system helps you know what each step accomplishes.
DRAFT — The PO exists in your system but hasn't been sent to the supplier yet. You can edit quantities, add or remove line items, and adjust the expected delivery date. Nothing has been committed externally.
SENT — The PO has been sent to the supplier (by email, portal, or printed document). The quantities are locked for tracking purposes. The PO is now an outstanding order in your system.
RECEIVED — Stock has arrived. You mark items as received (in full or partially), and EZStock updates Shopify inventory at the specified location. The PO closes when all items are received.
Partial receiving: If only part of an order arrives — common with international suppliers or split shipments — you can mark partial quantities as received and the PO remains SENT for the remainder.
Step 1: Install EZStock and Add Your First Supplier
Install EZStock from the Shopify App Store
Search "EZStock" in the Shopify App Store and install it. The setup wizard walks you through initial configuration — your store currency, default location, and notification preferences. It takes about 3 minutes.
Add a supplier
Go to EZStock → Suppliers → Add Supplier. Fill in the supplier name, contact email, lead time (days from order to delivery), payment terms, and minimum order quantity (MOQ). These fields attach to every PO you create for this supplier, so you don't re-enter them each time.
If you have multiple suppliers — a primary and a backup for key SKUs — add them all. You can have unlimited suppliers.
Step 2: Create a Purchase Order
Create a new PO
Go to EZStock → Purchase Orders → Create PO. Select the supplier from the dropdown. Set the expected delivery date (EZStock pre-fills this based on the supplier's lead time you entered). Add a reference number if you use one (optional).
Add line items
Search for products from your Shopify catalog. EZStock shows current inventory levels next to each product — so you can see at a glance that you have 12 units of a product and are ordering 100 more. Set the quantity and cost per unit for each line item. EZStock calculates the line total and PO total automatically.
You can add as many line items as needed. For large catalogs with predictable reorder points, EZStock can suggest which products to add based on current stock and historical sales velocity.
Save as DRAFT
Click Save as Draft. The PO is now in your system and visible in the Purchase Orders list. You can edit it, duplicate it, or delete it while it's in DRAFT state. Nothing has been sent to the supplier.
Step 3: Send the PO to Your Supplier
Review and send
Open the DRAFT PO. Review line items, quantities, and totals. When you're ready, click Mark as Sent. EZStock changes the PO status to SENT and locks the quantities for tracking.
EZStock generates a PDF version of the PO that you can download and attach to an email, or share directly with your supplier via their portal. The PDF includes your store name, PO number, supplier details, line items, quantities, unit costs, and total order value.
Tip: Save the PO PDF as a template for suppliers who have their own PO format requirements. The EZStock PDF covers the fields most suppliers need: PO number, delivery date, line items with SKUs, quantities, and costs.
Step 4: Receive Stock and Update Inventory
Mark stock as received
When inventory arrives, go to the PO in EZStock and click Receive Stock. For each line item, enter the quantity actually received. If the full order arrived, click Receive All — EZStock fills in the ordered quantities for each item.
Confirm — Shopify inventory updates automatically
Click Confirm Receiving. EZStock calls Shopify's inventory API and adds the received quantities to your stock at the selected location. The update is immediate — your Shopify store reflects the new stock levels within seconds.
If you received less than the full order (partial shipment), EZStock keeps the PO in SENT status for the remaining outstanding quantities. You can receive the remainder when it arrives.
Step 5: Set Reorder Alerts So You Never Do This Reactively
The most expensive inventory situation is discovering you're out of stock after a customer tries to buy. The second most expensive is ordering reactively — rushing small orders with expedited shipping because you didn't notice the depletion in time.
Set reorder points per product
In EZStock, go to Products → [select product] → Reorder Settings. Set a reorder point (the stock level that triggers an alert) and a reorder quantity (how much to order when triggered). EZStock calculates a suggested reorder point based on your sales velocity and supplier lead time — you can use the suggestion or set your own.
Get alerts before you run out
When a product drops to its reorder point, EZStock sends a notification to your email or Shopify admin inbox. The alert includes current stock, reorder quantity, supplier name, and a link to create a PO immediately. You can configure alerts to go to multiple team members if you have a purchasing or ops team.
What This Replaces
The workflow above replaces the entire manual process most Shopify merchants are running today:
- The spreadsheet — EZStock is the live record of what you've ordered, from whom, when, and what's outstanding. No version control, no manual updates, no sync errors.
- The email thread — PO PDFs are generated and tracked inside EZStock. You see outstanding orders in one place, not scattered across an inbox.
- The manual inventory update — Receiving stock in EZStock updates Shopify inventory automatically. No counting, no manual entry, no discrepancy between your PO count and your Shopify count.
Replace your built-in inventory tool or spreadsheet workflow today
EZStock is free to install. Create your first purchase order in under 10 minutes and have it connected to Shopify inventory automatically.
Install EZStock Free on Shopify →Frequently Asked Questions

EZStock ‑ Inventory & Purchase Orders
Shopify inventory management with real purchase orders